Background
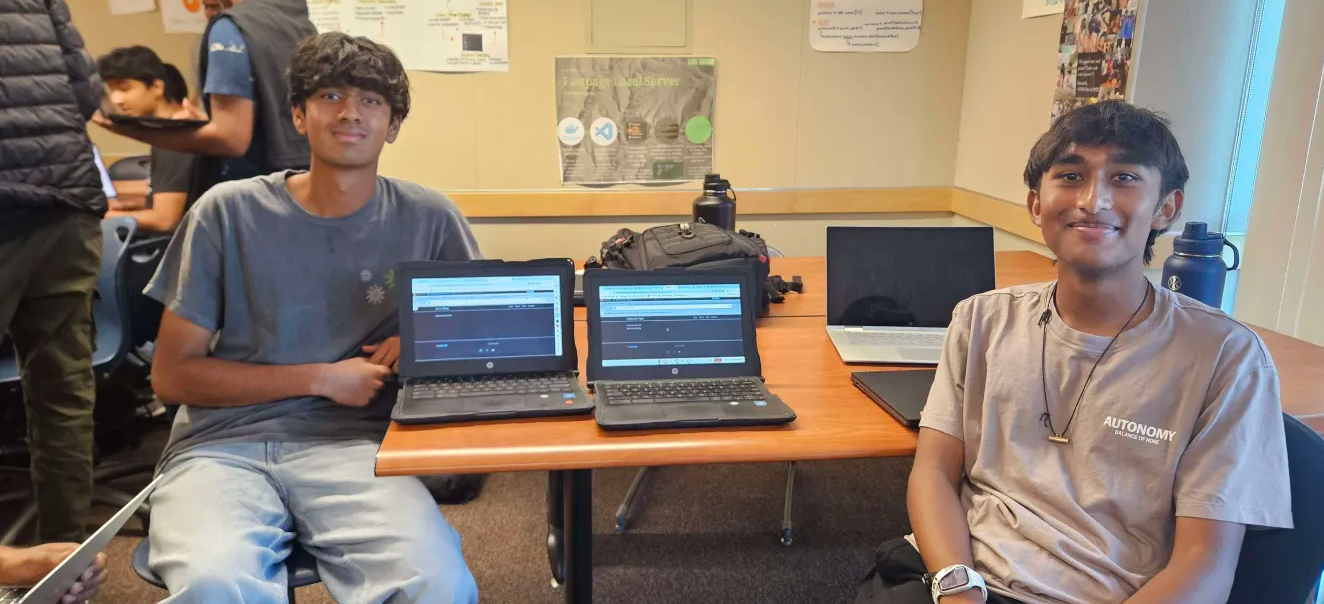
During the first couple days of school, many of us had a lot of trouble with our tool setup. With this trouble, Mr. Mort had the brilliant idea to just have the CSA students help us setup for their own grade. So we went over to Mr. Mort’s period 1 CSA class and here are the steps of what happened
Restart
The first thing we did was delete our nighthawk folders to restart everything. We had some residue work and setup from the previous day, but it was easier and more convenient for the CSA students to just restart from scratch than try to figure our what certain tools we need to install and in what order. Below is the code we used to remove our nighthawk folder.
#rm -rf nighthawk
Remake/Clone
We then used the mkdir command to make a directory and named it “nighthawk”. We then used the “cd” command to “change our directory” into the nighthawk folder we had previously just made.
#mkdir nighthawk
#cd nighthawk
We then used the git clone command to clone Mr. Mort’s repository template into our own personal repository.
#git clone https://github.com/ShawnRay09/shawnr_2025.git
#git clone https://github.com/nighthawkcoders/portfolio_2025.git
Now, simply to access my code all I had to do was these two commands
#cd nighthawk/shawnr_2025
#code .
Getting into the virtual environment and installing tools
To ensure my commits in vscode go to my github account/respository, I setup my personal Github variables using these commands
#git config --global user.email shawnyray@gmail.com
#git config --global user.name ShawnRay09
In order to deploy and make my local host version of my website, I needed to get into the virtual environment. In vscode, I opened a new terminal and used this command.
#source venv/bin/activate
Now we can install all of the remaining tools. Originally, I had trouble installing bundle because the “install bundle” command did not work, but doing this made it work.
#pip install -r requirements.txt
#bundle install
Now we can go into vscode using the . code command and open a new terminal and use the make command to make our local host!